Monday, 1 December 2014

Have a very Linky Christmas

What a time I've had since my last post. First I had a fabulous 3 week holiday in Las Vegas visiting friends, this trip we went to Grand Canyon and enjoyed time spent in the art galleries of Sedona. While I was away all kinds of new Crafty Secrets kitchen stamps were launched. I was chomping at the bit to get into these fabulous stamps. I had my computer open for about 15 minutes when my hard drive crashed. It took me a couple of weeks to regain my files and other things stored there. Everything I touched had to be realigned even my camera discs had to be located and re-downloaded so I could download my photos. Anyway that is all in the past and I spent the past week happily working with the new stamps.

I don't know if colouring takes me back to my idyllic childhood but I have always loved that part of crafting the most. I use most of the mediums: copics, distress ink, pencils, watercolours, and oils. Because it doesn't create a lot of mess I most often use copics. I find if you colour the images yourself rather than print precoloured images you can match back ground papers or customize in any way you wish.

December's Linky Party allows me to combine three important things, finally getting my hands on these fabulous images, creating my project in theme (cooking and calendar), and finally a special Christmas present for a dear friend.

My project is a calendar/cookbook with a page for each month. I was so eager to make the pages I didn't really think of how I would bind it. I strongly recommend you start with that thought. My tutorial was going to be "How to cover a 3 ring binder" but I don't think my method was very expedient as it took an entire day. If I had it to do again I would make a dust cover out of cloth. Instead I would like to take you on my creative journey explaining as I go the steps I took.

Step I:  

Printing my papers


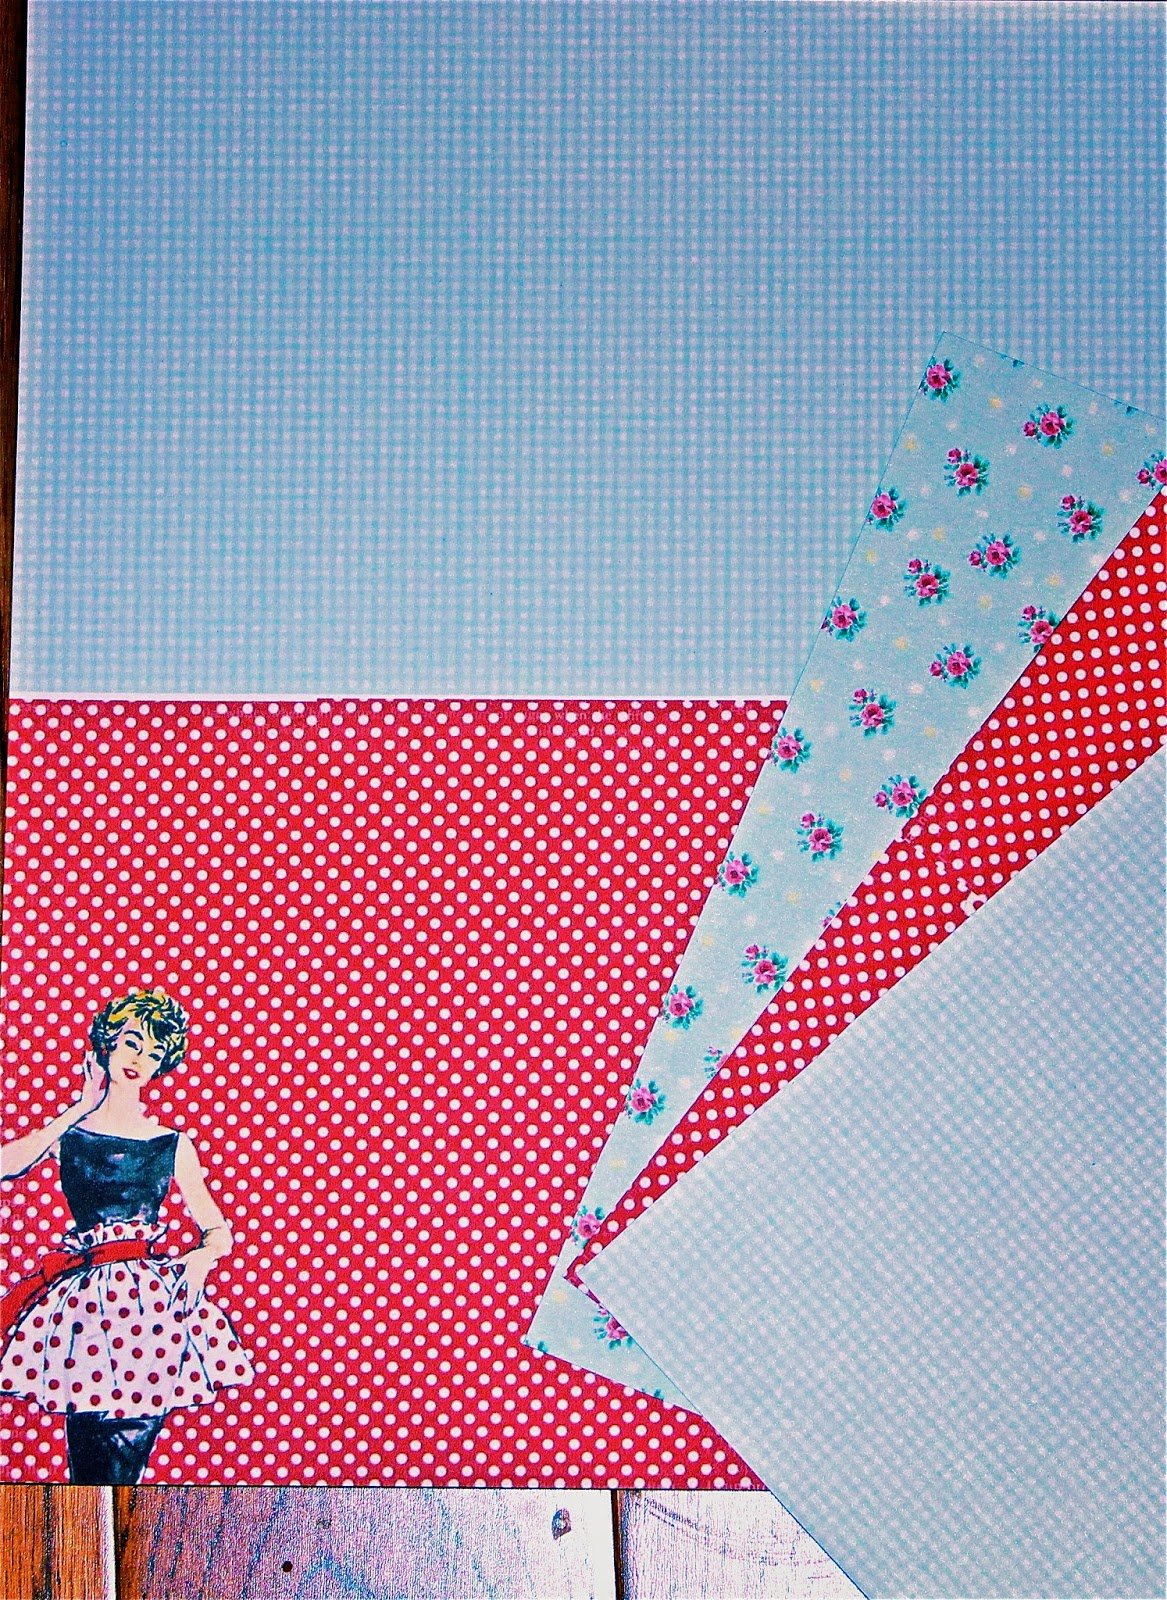
I decided the size I would need would be half a 8.5x11 so I printed the two halves in different prints.
I didn't want the pages to be too bulky so I turned the page over and printed the backs with a different design. I used the three papers shown from" Crafty Secrets Retro Digital Kit".


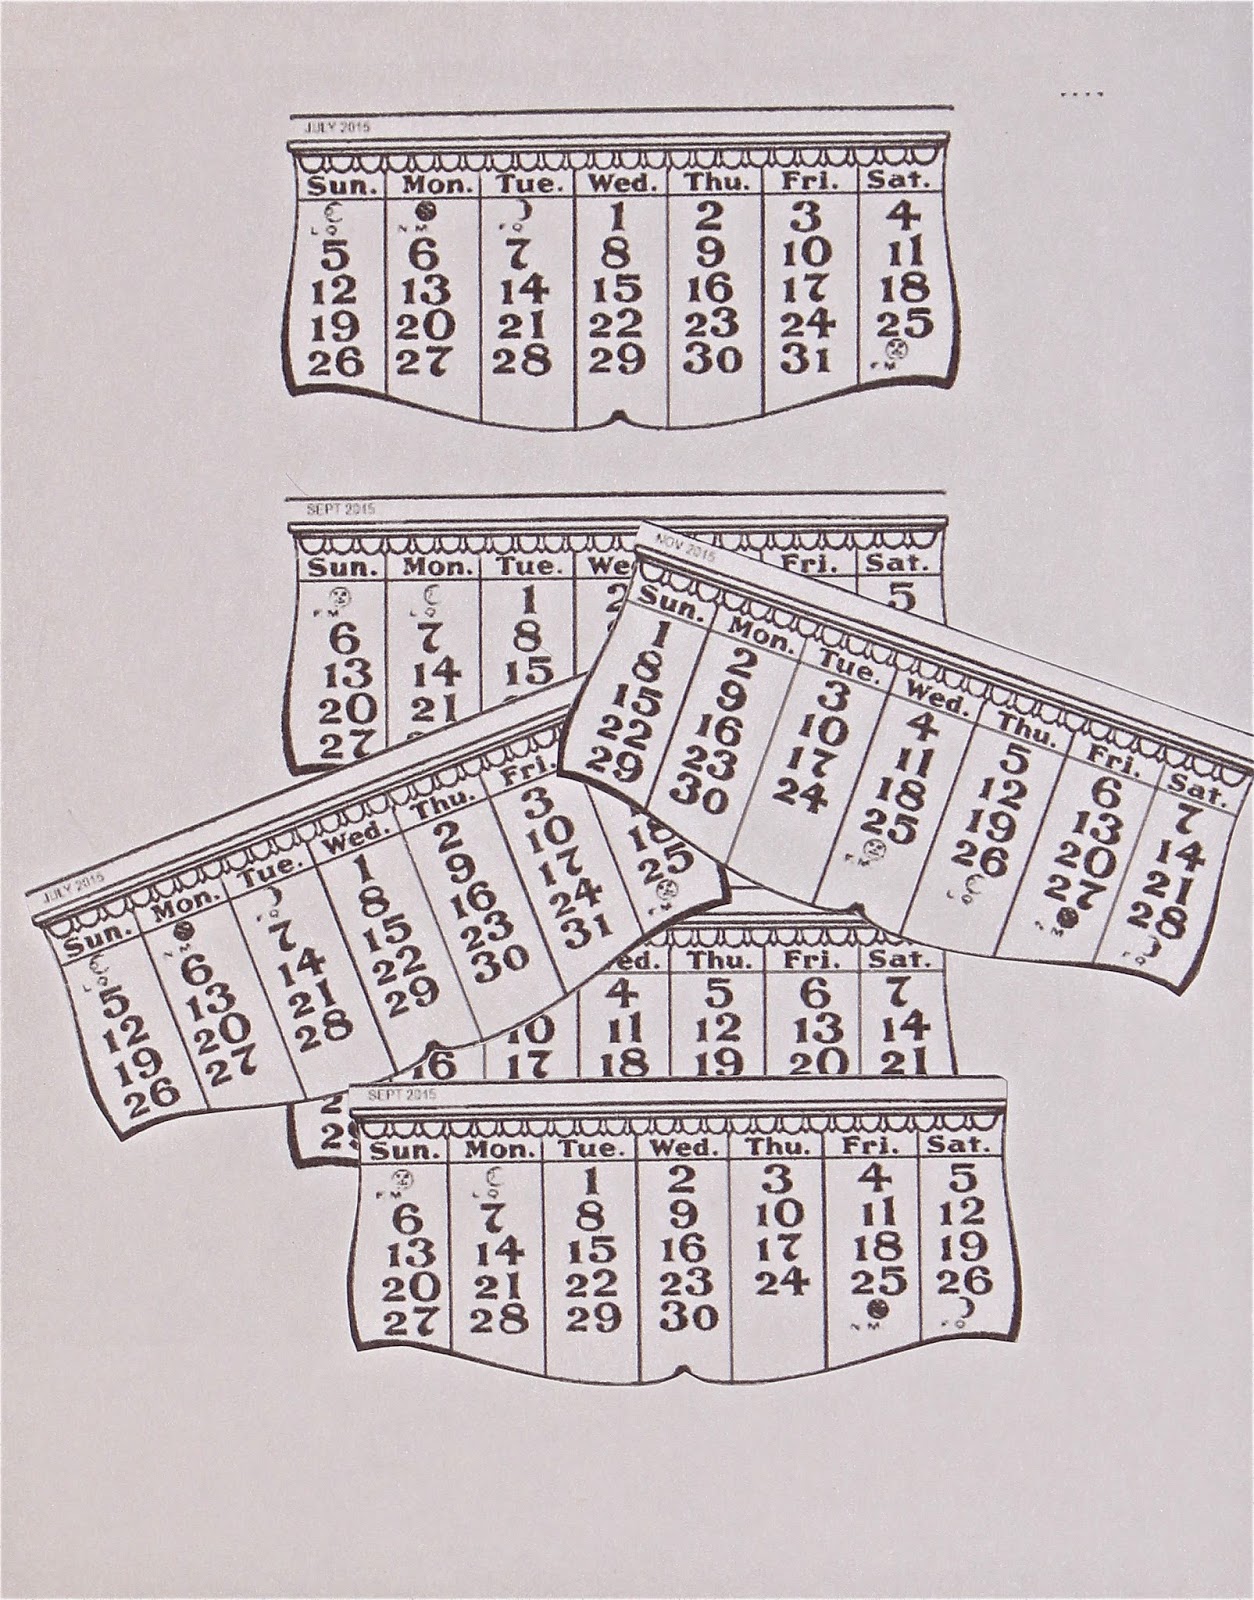
I used the free printables Sandy offers at our "Crafty Secrets" blog. The recipient of this project likes old world images, she prefers crisp white rather than aged sepia backgrounds so I printed the white version. I enlarged the months so they fit 3 to a page.


Now the fun bit starts, choosing your images! I decided the format would be 6 pages with an image and an alternating page with a recipe between each image page. I choose 6 images that would finish out at about the same size. First they were printed and then cut with a Spellbinders die as shown. I die cut an extra 6 frames for the recipe pages.


The pages start with January and on the backside is February etc. January has the image and February the recipe card. June shows the recipe card and the front side would be May, the image page. This shows you one side of each page. This was very time consuming as I coloured the images and embellishments ie: the apples of January. The diecut image was mounted on the 1/2 page of printed paper. I printed the tags and hand lettered the months. The edges of the month tags and calendars were traced with a red copic marker. I place the calendar, attached a piece of ribbon, added the month tag, and added the pearls to every month. The recipe on the back of each image page relates to the image. For example the back of January is "Apple Pie", the front of "Fruit Pie Pastry" is an image of pastry being rolled out. I loved this part the best. 

NOW THE PROBLEMS BEGAN

Not having the experience of my colleagues I was at an absolute standstill not knowing how to bind the pages. Because I had created pages that had to be flipped like a book, each page had to open flat, and each page had a single back/ front page the only thing that I could figure would be a 3 ring binder. (or a binding machine) Thankfully Martha Stewart makes a small binder that was just the right size. The binder was plain white plastic and didn't look very special so I decided to cover it.


Here is the front cover and the inside covered in paper and retaining the pocket in the front cover. I cut the paper to fit, glued it in place, and used double sided tape and a wide red satin ribbon to cover all the edges. As I said earlier this took me an entire day.

A List of the Stamps Used:


HERE IS THE FINISHED BOOK

Front Cover
The lettering on the cover is hand done and the oven mitts are cut out of patterned paper with tiny bows placed on each one, once again made by me.

Inside cover and January

February and March
The top of the pie has real sugar sprinkled on it. March has a tiny bow on the sweet little girl's braid, glitter on the cupcakes and the cherry is a pearl coloured with copics.


April and May
All the baking in May has glitter on the icing.


June and July


August and September
The strawberries are all coated with crystal effects and look scrumptious.


October and November


December
The carrot pudding is hand painted in acrylics so there is a bit of texture and both the rum sauce on top and also the carrots are covered in glitter. Holly sprig is painted with H2O's.

The right side page is a Christmas card to my friend. Here is a picture of the Christmas pudding on the December page. I am particularly proud of the pudding as I painted it myself, the rum sauce is liquid effects with glitter on it.


I apologize for the length of this post. Santa will be especially good to those who read through to the end. 


“Now it’s your turn!  Visit each of the design team blogs listed below.  Then create a NEW project of your choice featuring Crafty Secrets product and link it up to the blog 

(http://heartwarmingvintage.blogspot.com/)h. You do not need to follow this month’s theme to play along.  If you do not have any Crafty Secrets goodies, check the FREE DOWNLOADS located in the sidebar of the Crafty Secrets blog.  Be sure to link to the Crafty Secrets Blog in your post, and let us know what Crafty Secrets product you are using in your project. One lucky player will be randomly selected to win a $50 shopping spree in our online store.  Each player who participates will receive a $6 credit to the online store.  We’ll be popping by to leave you some lovely comments on your blog post, too. Thanks for playing along, and good luck!”


Crafty Secrets Design Team

Kathy Clement, DT Leader  http://www.kathybydesign.com

Darlene Pavlick, Dar’s Crafty Creations    http://darscraftycreations.blogspot.com/

Diane Hover, Nellie’s Nest   http://www.nelliesnest.blogspot.com

Gloria Stengel, Scraps of Life   http://gloriascraps.blogspot.com/

Melody Clement, Paper Melody’s   http://papermelodys.wordpress.com/

Michele Kovack, Thoughts of a Cardmaking Scrapbooker   http://chelemom.blogspot.com/

Shantaie Fowler, Inking Pink  http://www.inkingpink.com/

Sheila Rumney, Sheila Rumney Design and Photography,   http://www.sheilarumney.com/

Special Guests


Glenda Brooks http://www.    


Thanks so much for visiting me at Paper Pass Times

Merry Christmas,

Elizabeth


Monday, 3 November 2014

"Oh Holy Night"

As I write this blog the last thing on my mind is Christmas. We are presently on a holiday in Mesquite, Nevada. It is so wonderful to have such great friends that they invite you, with your dog, to spend 3 weeks. It is a very Canadian thing to have a home in the south to avoid as much winter weather as you can and Mesquite is our neighbour's winter home. I made November"s Linky Party project before I left and it always feels a bit Christmassy when you live in a place surrounded by fir trees.


I started this card with this gorgeous image from Crafty Secrets "Christmas Images and Journal Notes". After searching through all my papers and coming up empty for a good back ground paper match, I decided the richness of the image required fabric. This photo doesn't do the fabric justice, it is gold and cream silk and the gold is a perfect match for the soft gold in the image.


  I hope you can identify the white packing material you can see behind the fabric panel. I don't know if this stuff has a name but you get it as packing material in breakable items and I use it a lot for crafting. For this project I cut 2 pieces and with double sided tape attached them to the back of the card stock. I placed the tape around the outer edge of the cardstock square. The fabric was cut about 1/2" larger than the cardstock, the corners mitred, and then the fabric stretched over the card. The styrofoam gives the fabric wonderful depth.

The next step was the gold frame. I found the foil frame to look new and brassy, far too shiny and cheap looking for a baroque looking image so I took some Liquitex acrylic bronze paint and painted it on the frame, wiping off the excess to expose the brighter gold in a few spots. I cut the image to fit the inner oval frame and cut the angels wings for an "out of the frame" effect.


The angel image has some green in it, but none of my glitter papers matched very well. I used a piece of cardstock in the exact colour I wanted to use and placed a strip of 2 sided tape around the edge. The piece of cs missing from the middle was used for the background between the oblong and oval frames. that cut piece was also covered in 2 sided tape. All sookwang(2 sided tape) tape was covered with a spruce coloured glitter.


Final assembly, I mounted the angel behind the oval frame with her wings placed in front. Next I mounted the frame and angel on the green glitter oval which was in turn mounted behind the large gold frame. This was then mounted on the fabric panel which was then mounted on the green glitter edged cardstock. No, I do not own shares in the Sookwang tape company LOL. Final thing was to add a ready made muslin flower and 2 velvet leaves.


I hope you will use fabric on your cards, it adds such texture and richness.


“Now it’s your turn!  Visit each of the design team blogs listed below.  Then create a NEW project of your choice featuring Crafty Secrets product and link it up to the blog 

(http://heartwarmingvintage.blogspot.com/)h. You do not need to follow this month’s theme to play along.  If you do not have any Crafty Secrets goodies, check the FREE DOWNLOADS located in the sidebar of the Crafty Secrets blog.  Be sure to link to the Crafty Secrets Blog in your post, and let us know what Crafty Secrets product you are using in your project. One lucky player will be randomly selected to win a $50 shopping spree in our online store.  Each player who participates will receive a $6 credit to the online store.  We’ll be popping by to leave you some lovely comments on your blog post, too. Thanks for playing along, and good luck!”


Crafty Secrets Design Team

Kathy Clement, DT Leader  http://www.kathybydesign.com

Darlene Pavlick, Dar’s Crafty Creations    http://darscraftycreations.blogspot.com/

Diane Hover, Nellie’s Nest   http://www.nelliesnest.blogspot.com

Gloria Stengel, Scraps of Life   http://gloriascraps.blogspot.com/

Melody Clement, Paper Melody’s   http://papermelodys.wordpress.com/

Michele Kovack, Thoughts of a Cardmaking Scrapbooker   http://chelemom.blogspot.com/

Shantaie Fowler, Inking Pink  http://www.inkingpink.com/

Sheila Rumney, Sheila Rumney Design and Photography,   http://www.sheilarumney.com/
Special Guest


Thanks so much for visiting me at Paper Pass Times

Cheers,

Elizabeth


Monday, 6 October 2014

LET'S SPICE IT UP!

Is it just me or is life speeding by far too quickly these days. I returned late Thursday night from Edmonton and I'm pleased to say after 3 weeks I have moved my Mom, listed and sold her house, and got her settled and happy in her new place. It feels good to be back to my patient husband, peaceful household, and of course...my craft room. I have an easel card to share with you for our October Linky Party with a tutorial to follow showing you how to make your own. One of the themes this month is recipes and the smell of cinnamon always comes to mind in the fall. Hopefully you can read the recipe for these tasty cookies clearly enough to make them.


I used Crafty Secrets "Kitchen Classics", "Sweet Stuff" stamps sets and "Cooking" printable sheet images for this project and as luck would have it Sandy is presently offering a great package with most of the images I used here "Cooking and Family Pack".


I finally cut into the last piece of this wonderful tartan paper I have been hoarding, but it was for a good cause. The white lacy trim is a Spellbinders die, the images come from all the Crafty Secrets sources I mentioned. How I made the giant spice cookie is a secret. Come on...you know me better than that, I always share my secrets. I die cut 2 scalloped hearts (Spellbinders) from craft paper and glued them together. I browned the edges with copics and fancy iced the top with a stencil and Dreamweaver's paste. The sugared top is exactly that SUGAR. I just kept adding cute little cooking items until it looked sufficiently interesting.


The lower base part of this card is pretty obvious. I used a doily, image of a cinnamon spice jar, image of measuring spoons, and my family recipe for spice cookies. What I'm particularly proud of here is the cute little oven mitts. I cut them out of a sheet of gingham I printed off in a really small size and flipped them over and took a stylus to the back, and the little bows... you may remember I did a tutorial on (How to tie teeny tiny bows)  It's finished off with a heart button stopper to rest the top part of the easel card against.


EASEL CARD TUTORIAL


You can make this card in any dimensions you want, basically whatever size you want for the front face you cut a length twice that dimension, fold in half, and then fold the half in half again. For this card I used an 11" piece of cardstock and cut 5 1/2 inches for the width. You can follow the dimensions I have provided. The folds are from the left edge: 2 3/4 mountain fold, 2 3/4 valley fold, 5 1/2".In addition cut a square 5 1/2" x 5 1/2" for the front face.


Place 2 strips of 2 sided tape as shown.


It's difficult to see what I did in this step but the instructions make better sense. I have rotated the card so that the panel with the tape is at the top. Crisply fold the valley and mountain folds so it lies very flat. Lay the separate 5 1/2" x 5 1/2" front piece on the exposed tape so that it is stacked directly on the tape lined up with the bottom perfectly.

It should look like this. Now decorate it the way you like and add a stopper to the bottom piece to stop the front face from slipping down. 


“Now it’s your turn!  Visit each of the design team blogs listed below.  Then create a NEW project of your choice featuring Crafty Secrets product and link it up to the blog 

(http://heartwarmingvintage.blogspot.com/) no later than 11:59PT, Sunday, September 14th. You do not need to follow this month’s theme to play along.  If you do not have any Crafty Secrets goodies, check the FREE DOWNLOADS located in the sidebar of the Crafty Secrets blog.  Be sure to link to the Crafty Secrets Blog in your post, and let us know what Crafty Secrets product you are using in your project. One lucky player will be randomly selected to win a $50 shopping spree in our online store.  Each player who participates will receive a $6 credit to the online store.  We’ll be popping by to leave you some lovely comments on your blog post, too. Thanks for playing along, and good luck!”


Crafty Secrets Design Team

Kathy Clement, DT Leader  http://www.kathybydesign.com

Darlene Pavlick, Dar’s Crafty Creations    http://darscraftycreations.blogspot.com/

Diane Hover, Nellie’s Nest   http://www.nelliesnest.blogspot.com

Gloria Stengel, Scraps of Life   http://gloriascraps.blogspot.com/

Melody Clement, Paper Melody’s   http://papermelodys.wordpress.com/

Michele Kovack, Thoughts of a Cardmaking Scrapbooker   http://chelemom.blogspot.com/

Shantaie Fowler, Inking Pink  http://www.inkingpink.com/

Sheila Rumney, Sheila Rumney Design and Photography,   http://www.sheilarumney.com/
 
Special Guest

Lee Ann Barrett, Add a Little Dazzle, https://www.facebook.com/AddALittleDazzle


Thanks so much for visiting me at Paper Pass Times

Cheers,

Elizabeth


Monday, 1 September 2014

A Spooky Linky Party

Bring on the costumes and get ready to eat finger food and drink bloody mary's, it's time for our September Linky Party. With my children grown and left home, and no grandkids yet, Halloween isn't quite the same. To make it even less fun we live in a gated complex that doesn't allow kids going door to door so the only fun I have is to make spooky cards.

Every month I go through the same thing, trying to come up with something novel to present as a tutorial and this month I may actually have something original. I don't know what to call this fold but if you look down from the top it appears as a double Z. For my tutorial I'll share with you the dimensions I used to fold the paper and as that doesn't seem like much of a tutorial I'll take you briefly through the whole process.


LET'S GET INKY!


The dimensions could change but I started with 5" for the centre panel framed by the centre 2 tree stands, then allowed 1" on either side of the 5" for the depth, and lastly 2" either side of that for the side panels. So the folds were at (left to right) 2" mountain fold, 3" valley fold, 8" valley fold, 9" mountain fold. Here's what it looks like from the top down. The spooky trees are from Crafty Secrets "Costume Cuties"


I feather cut through the top tree leaf canopy so the jagged edges you see are from cutting a layer into the black. I also cut the ground line on either side. That's what you see framing the inside 5". The next image where I show it inked allows you to see better what I mean.


You can see in this image where the fold lines are and if you look carefully on the lower edge you can see where I cut the ground and the top where I cut a layer into the tree tops. In this step I cut a circle and a house shape for stencils and sponged the night sky and grass working in a bit of turquoise to blend the grass and sky and a bit of deep purple around the trees. 


Now for the fun part! I sponged a little yellow ink around the house and moon. Finally I get to decorate it. The haunted house is from Crafty Secrets "Halloween CD4". It's coloured with copics. I cut the pumpkins from some paper scraps I had laying around, the fence is a Martha Stewart punch as is the witch, and spiders. I added googly eyes to the spiders and suspended them from tree branches with thick black thread. I used a Memory Box die to cut branches protruding out from the edge. Lastly it needed some moonlight on the scene so I painted white acrylic paint lines on the branches and spiders.
Hope the instructions weren't too rambling. Thanks for hanging in there.


“Now it’s your turn!  Visit each of the design team blogs listed below.  Then create a NEW project of your choice featuring Crafty Secrets product and link it up to the blog 

(http://heartwarmingvintage.blogspot.com/) no later than 11:59PT, Sunday, September 14th. You do not need to follow this month’s theme to play along.  If you do not have any Crafty Secrets goodies, check the FREE DOWNLOADS located in the sidebar of the Crafty Secrets blog.  Be sure to link to the Crafty Secrets Blog in your post, and let us know what Crafty Secrets product you are using in your project. One lucky player will be randomly selected to win a $50 shopping spree in our online store.  Each player who participates will receive a $6 credit to the online store.  We’ll be popping by to leave you some lovely comments on your blog post, too. Thanks for playing along, and good luck!”


Crafty Secrets Design Team

Kathy Clement, DT Leader  http://www.kathybydesign.com

Darlene Pavlick, Dar’s Crafty Creations    http://darscraftycreations.blogspot.com/

Diane Hover, Nellie’s Nest   http://www.nelliesnest.blogspot.com

Elizabeth Lincoln, Paper Passtimes   http://paperpasstimes.blogspot.com/

Gloria Stengel, Scraps of Life   http://gloriascraps.blogspot.com/

Melody Clement, Paper Melody’s   http://papermelodys.wordpress.com/

Michele Kovack, Thoughts of a Cardmaking Scrapbooker   http://chelemom.blogspot.com/

Shantaie Fowler, Inking Pink  http://www.inkingpink.com/

Sheila Rumney, Sheila Rumney Design and Photography,   http://www.sheilarumney.com/
 
Special Guest


Thanks so much for visiting me at Paper Pass Times

Cheers,

Elizabeth

Thursday, 28 August 2014

Sew Special

I have been a very naughty blogger lately neglecting my followers. If I could be allowed to offer an excuse my dear sweet 90 year old mother fell down twice and between that and some of my own health issues I didn't have a creative idea in my head. I got up this morning and just felt like making a card. this is for Splitcoaststampers monthly tickle and the theme is sewing or baking. Perfect...I've been wanting to do a card using these Crafty Secrets stamps ever since I got them.


I started with a black base card. The cream background is a large background stamp of pattern pieces, the edge is punched with a Martha Stewart punch and then just inside from the edge is a line of stamped black stitches. I then used distress inks to age the paper. Next thing glued down was the twill tape measure ribbon and the roses. Everything was coloured with copics and distress inks. I printed off an array of sewing items and just played with them until I was happy with the placement. I don't do enough of these type of cards to be confident with a preplanned sketch.


Here is a list of the Crafty Secrets products I used:

button card - "Button Up" digital stamp set

thread card - "Bobbin Cards"

mannequin - "Sew Fashionista" digital stamp set

sentiment - "Sewing Basket" digital stamp set


To finish it off I added a couple of charms, buttons, a string of pearls, and a tiny silk rose.


Thanks so much for visiting me.

Cheers,

Elizabeth


Wednesday, 13 August 2014

Kiss Me

While scanning through my Crafty Secret images this week I discovered a couple of cute frogs in our "Kewpies" digital stamp set. It started out as a kids BDay card but as it went along I had a thought for a different sentiment and it ended up as a new home congratulations card.


I used blue cardstock for the background and added the white glittery clouds. The first layer of reeds are stamped on and then I fussy cut the second layer. I hand drew the bullrushes and covered them with brown flocking. The frogs were coloured with copics and fussy cut. The sentiment is just something I thought up and the rose is prima. Lastly the overhead branches are a memory box die.


Thanks so much for dropping by,

Cheers, 

Elizabeth

Monday, 4 August 2014

You Had Me at Merlot

Here we are at Crafty Secrets August Linky Party and I have a wine folder hostess gift to share with you today, followed by a tutorial on using a stylus to give dimension.

Our theme this month is autumn/back to school. Very easy decision for me as both our kids graduated some years ago and we haven't got any grandchildren around us, excited about school. For those of you who live near vineyards, like me, the autumn means wine tours and special dinners offered at vineyards. Grape leaves turn the most amazing copper and gold shades during this season and the vineyard restaurant offerings usually feature the local produce paired with their vintage wines.

I have a friend who often hosts wine and cheese get togethers so I made this as a hostess gift to be given when we go for dinner in a couple of weeks (as well as a bottle of course!!!) It is not a standard size (a bit larger than 5x6.5) but this doesn't matter as it will be hand delivered. It wouldn't mail very well anyway as the two pockets are 1/4" each, equally a 1/2' depth.

Front Cover


This is front cover. Everything you see here is from Crafty Secrets "Wine Lovers". The only change I made to the scene is I painted the clouds with acrylic white paint instead of using the clouds as they were originally drawn. The slab of cheese has the cutest little mouse peering out of a cheese hole bottom centre but he didn't work with my theme so I covered him up with the grape cluster. I just know he's under there thinking "the indignity of it all" or maybe he's appreciating his privacy so he can carry on eating the rest of the cheese! Everything in this project is coloured with copics except the forementioned acrylic clouds.

Inside Pockets


This is the inside of the folder. Each pocket is 1/4" deep,  the left pocket holds the wine glass ID tags and the right pocket holds the invitations. Again everything you see here is part of the "Wine Lovers"
stamp set. The wine bottle on the front cover is the same one used for the bottle border, just sized down. 
Hooray for digital!

Tutorial

A few people have asked me what exactly I mean when I say "flip it over and take a stylus to the back"
There are no secrets here my friends, that is literally what I do but the difference comes by what stylus you use and the glue you use to adhere your 3D item to your project. I use Sizzix "Susan Tierney's" tools created for flower molding. You can see from this picture the stylus has a very large ball. Why this 


is necessary is that you can work the back to the point where you can take a flat circle and create a bowl without leaving any scratch lines like you would with a smaller stylus. With the bottle I wanted a
horizontal curve only so I only used the stylus in the middle going up and down. The wine glasses I wanted more of a bowl shape so I did the same as the bottle but in the bowl part I worked in circles until it took on the shape of a glass. Here is an attempt to show you how much curvature I put on the bottle and glasses.

When you use copics it's easy to use a stylus on the back.  The reason parts of an object are light is that they project into the light further and parts are darker because they recess. Because copics bleed through the paper you can see where the light shades are and take a stylus to them. For example the grapes, when you turn the coloured grapes over you can see a bunch of dark circle so you press in on the centres. If you don't use copics you can indent on the right side and then turn it over and push out the indentation the other way.


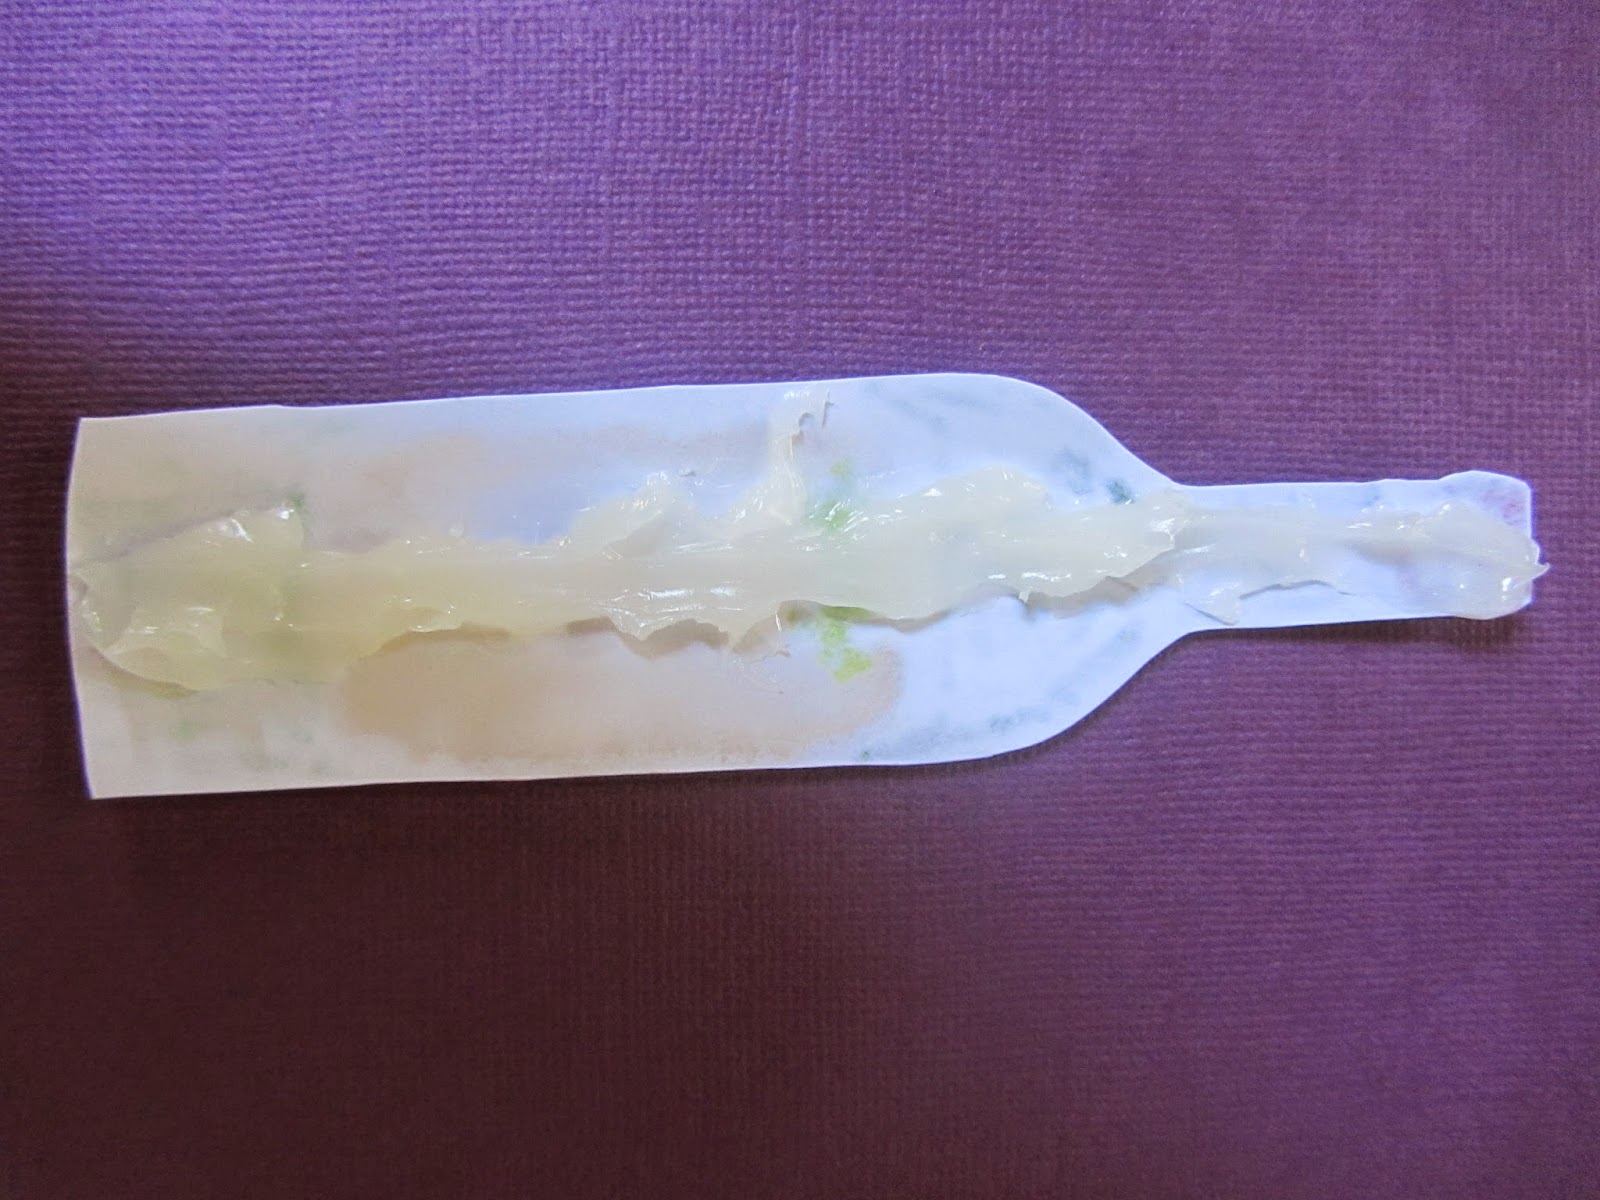
The next challenge (if you are mailing) is to make sure all this dimension you've just created doesn't flatten. There is only one glue I have ever been happy with. "YES" is a paste glue that keeps its shape with no shrinkage when it dries. It is also a very strong adhesive.


You are looking at the back side of the wine bottle with enough glue so it will hold it's shape. For this project I used this technique on the bottle and glasses on the front cover, the slab of cheese has indents, and the three large clusters of grapes. 


“Now it’s your turn!  Visit each of the design team blogs listed below.  Then create a NEW project of your choice featuring Crafty Secrets product and link it up to the blog (http://heartwarmingvintage.blogspot.com/) no later than 11:59PT, Sunday, August 17th. You do not need to follow this month’s theme to play along.  If you do not have any Crafty Secrets goodies, check the FREE DOWNLOADS located in the sidebar of the Crafty Secrets blog.  Be sure to link to the Crafty Secrets Blog in your post, and let us know what Crafty Secrets product you are using in your project. One lucky player will be randomly selected to win a $50 shopping spree in our online store.  Each player who participates will receive a $6 credit to the online store.  We’ll be popping by to leave you some lovely comments on your blog post, too. Thanks for playing along, and good luck!”


Crafty Secrets Design Team

Kathy Clement, DT Leader  http://www.kathybydesign.com

Darlene Pavlick, Dar’s Crafty Creations    http://darscraftycreations.blogspot.com/

Diane Hover, Nellie’s Nest   http://www.nelliesnest.blogspot.com

Elizabeth Lincoln, Paper Passtimes   http://paperpasstimes.blogspot.com/

Gloria Stengel, Scraps of Life   http://gloriascraps.blogspot.com/

Melody Clement, Paper Melody’s   http://papermelodys.wordpress.com/

Michele Kovack, Thoughts of a Cardmaking Scrapbooker   http://chelemom.blogspot.com/

Shantaie Fowler, Inking Pink  http://www.inkingpink.com/

Sheila Rumney, Sheila Rumney Design and Photography,   http://www.sheilarumney.com/


Thanks so much for visiting me at Paper Pass Times

Cheers,

Elizabeth