I don't know if colouring takes me back to my idyllic childhood but I have always loved that part of crafting the most. I use most of the mediums: copics, distress ink, pencils, watercolours, and oils. Because it doesn't create a lot of mess I most often use copics. I find if you colour the images yourself rather than print precoloured images you can match back ground papers or customize in any way you wish.
December's Linky Party allows me to combine three important things, finally getting my hands on these fabulous images, creating my project in theme (cooking and calendar), and finally a special Christmas present for a dear friend.
My project is a calendar/cookbook with a page for each month. I was so eager to make the pages I didn't really think of how I would bind it. I strongly recommend you start with that thought. My tutorial was going to be "How to cover a 3 ring binder" but I don't think my method was very expedient as it took an entire day. If I had it to do again I would make a dust cover out of cloth. Instead I would like to take you on my creative journey explaining as I go the steps I took.
Step I:
Printing my papers
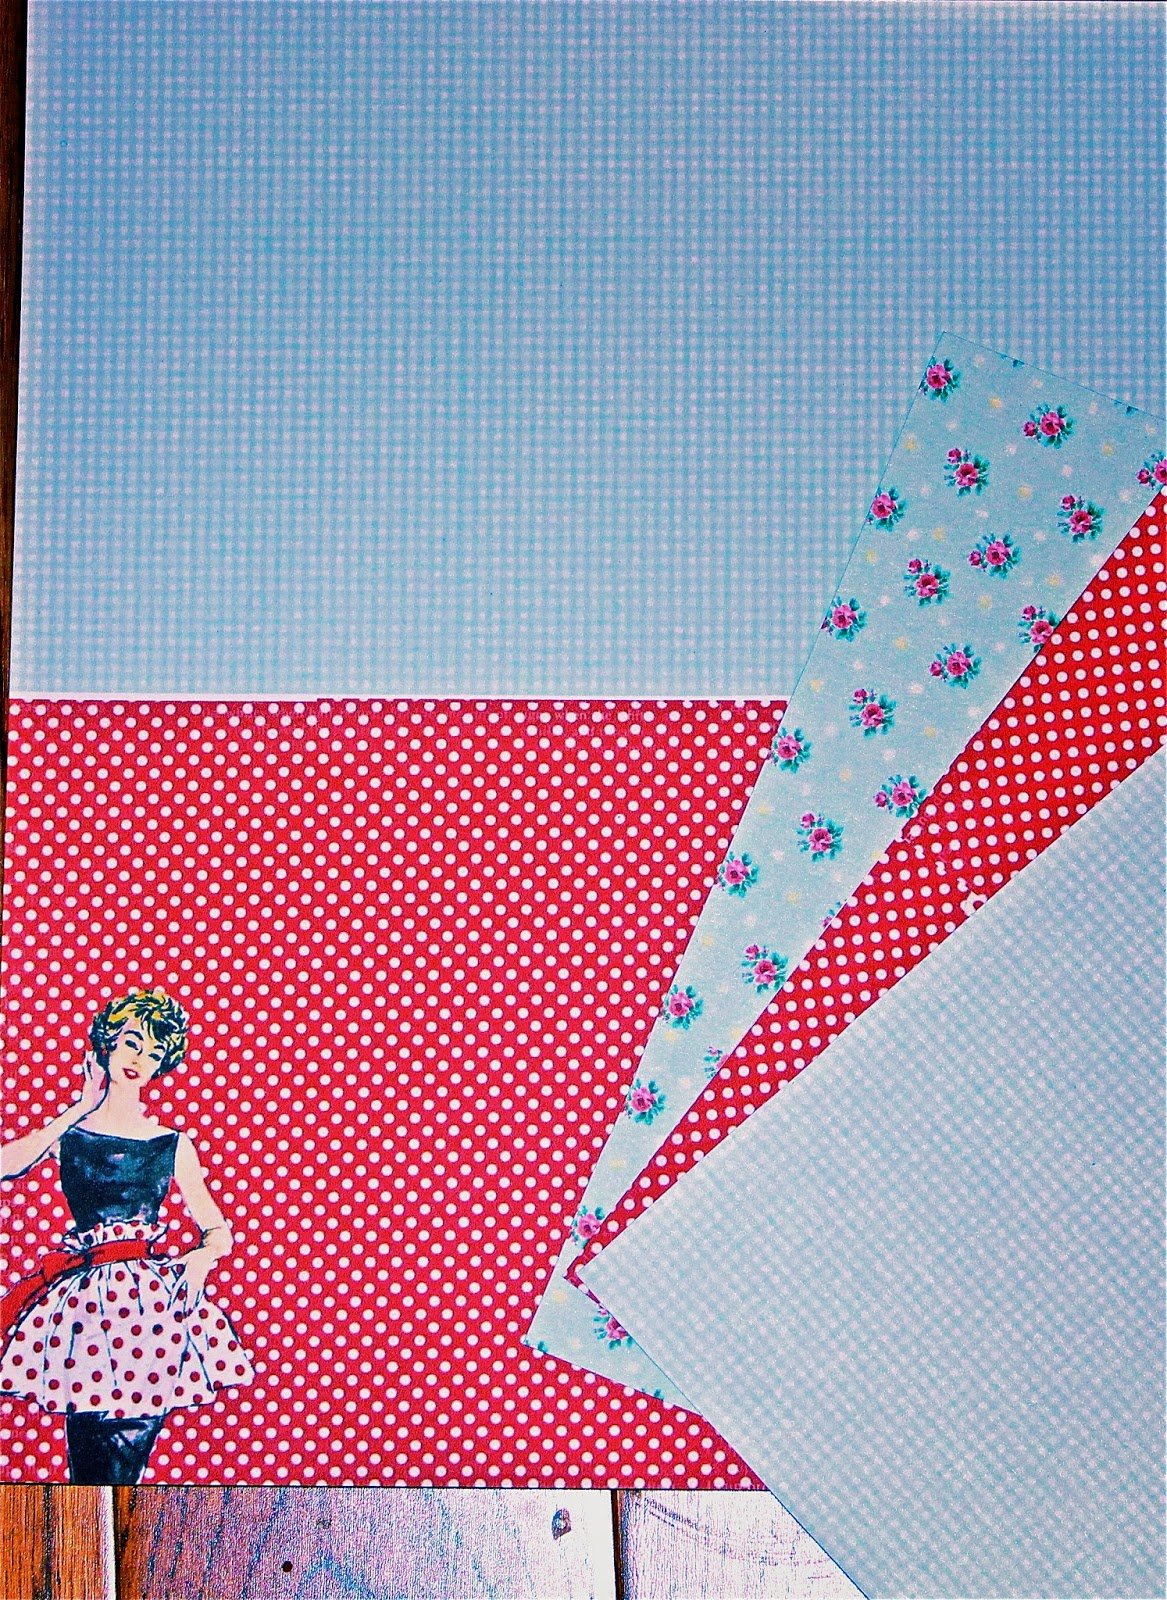
I decided the size I would need would be half a 8.5x11 so I printed the two halves in different prints.
I didn't want the pages to be too bulky so I turned the page over and printed the backs with a different design. I used the three papers shown from" Crafty Secrets Retro Digital Kit".
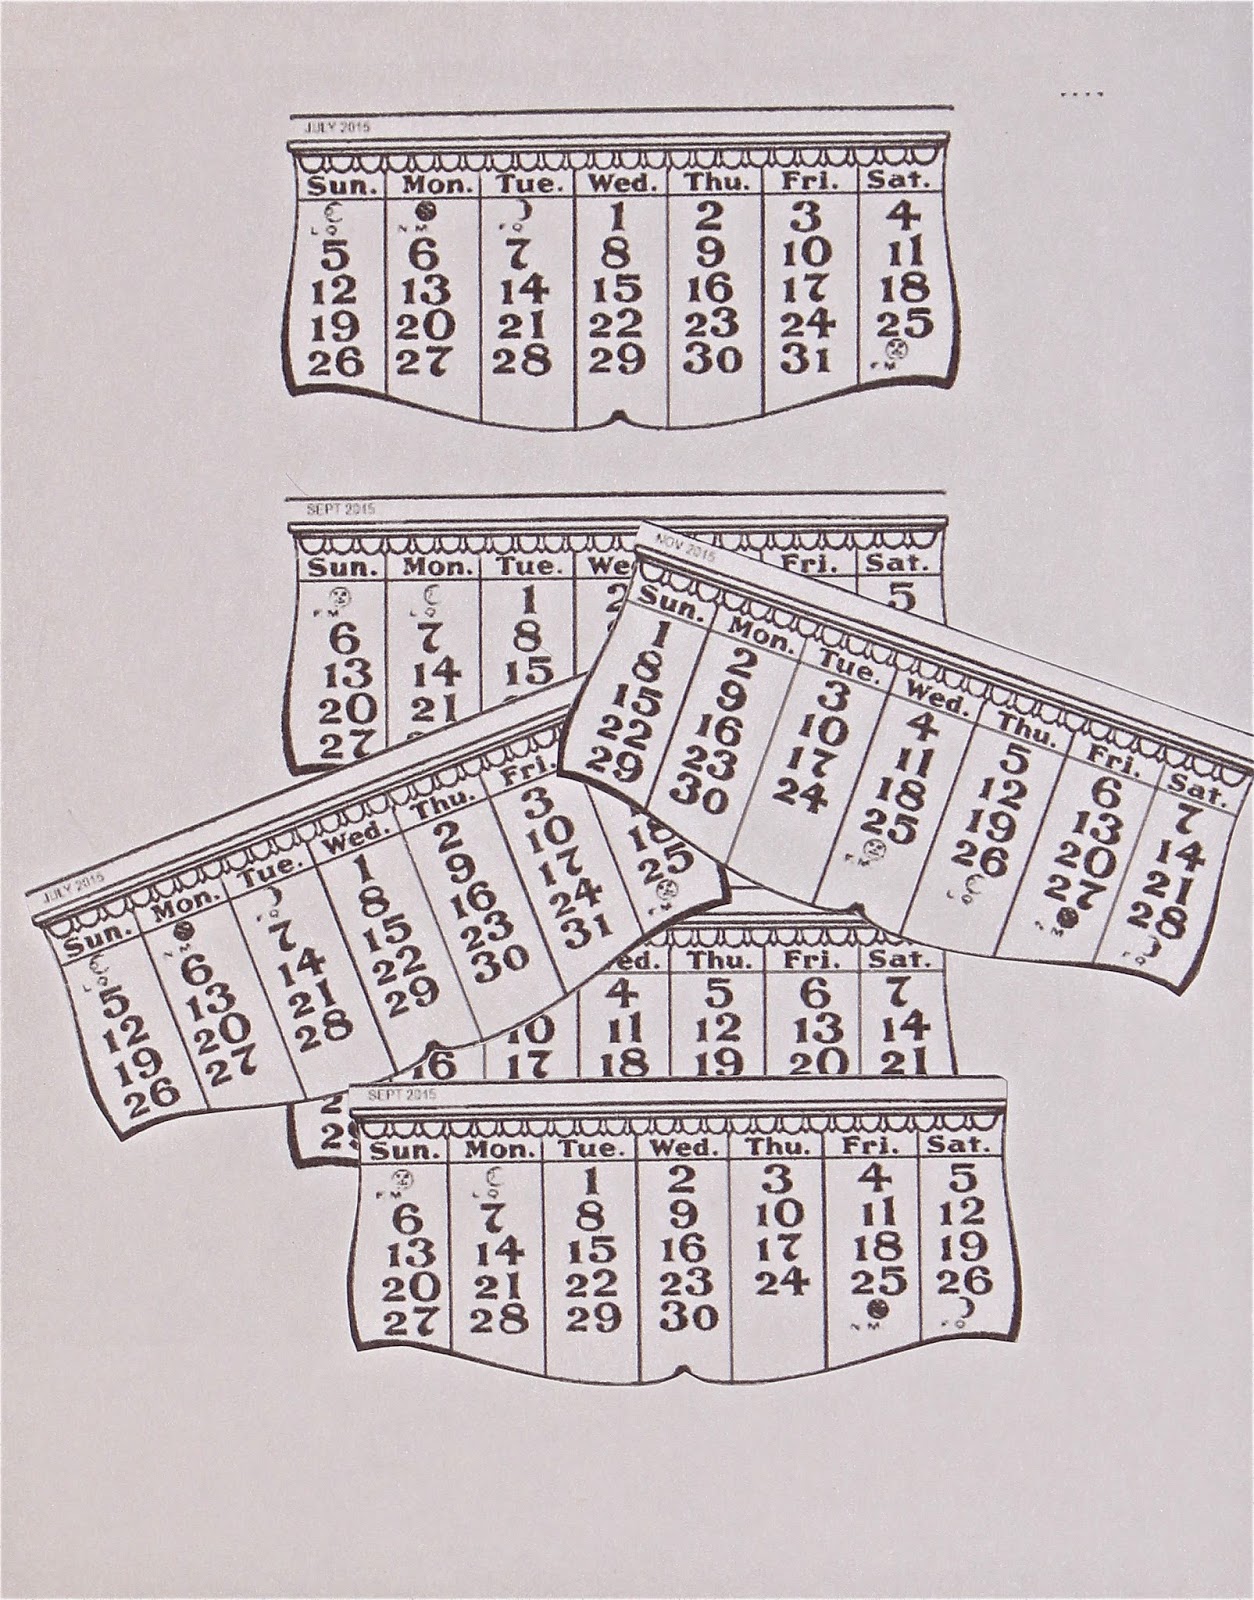
I used the free printables Sandy offers at our "Crafty Secrets" blog. The recipient of this project likes old world images, she prefers crisp white rather than aged sepia backgrounds so I printed the white version. I enlarged the months so they fit 3 to a page.

Now the fun bit starts, choosing your images! I decided the format would be 6 pages with an image and an alternating page with a recipe between each image page. I choose 6 images that would finish out at about the same size. First they were printed and then cut with a Spellbinders die as shown. I die cut an extra 6 frames for the recipe pages.

The pages start with January and on the backside is February etc. January has the image and February the recipe card. June shows the recipe card and the front side would be May, the image page. This shows you one side of each page. This was very time consuming as I coloured the images and embellishments ie: the apples of January. The diecut image was mounted on the 1/2 page of printed paper. I printed the tags and hand lettered the months. The edges of the month tags and calendars were traced with a red copic marker. I place the calendar, attached a piece of ribbon, added the month tag, and added the pearls to every month. The recipe on the back of each image page relates to the image. For example the back of January is "Apple Pie", the front of "Fruit Pie Pastry" is an image of pastry being rolled out. I loved this part the best.
NOW THE PROBLEMS BEGAN
Not having the experience of my colleagues I was at an absolute standstill not knowing how to bind the pages. Because I had created pages that had to be flipped like a book, each page had to open flat, and each page had a single back/ front page the only thing that I could figure would be a 3 ring binder. (or a binding machine) Thankfully Martha Stewart makes a small binder that was just the right size. The binder was plain white plastic and didn't look very special so I decided to cover it.


Here is the front cover and the inside covered in paper and retaining the pocket in the front cover. I cut the paper to fit, glued it in place, and used double sided tape and a wide red satin ribbon to cover all the edges. As I said earlier this took me an entire day.
A List of the Stamps Used:
HERE IS THE FINISHED BOOK
Front Cover
The lettering on the cover is hand done and the oven mitts are cut out of patterned paper with tiny bows placed on each one, once again made by me.

Inside cover and January

February and March
The top of the pie has real sugar sprinkled on it. March has a tiny bow on the sweet little girl's braid, glitter on the cupcakes and the cherry is a pearl coloured with copics.

April and May
All the baking in May has glitter on the icing.

June and July

August and September
The strawberries are all coated with crystal effects and look scrumptious.

October and November

December
The carrot pudding is hand painted in acrylics so there is a bit of texture and both the rum sauce on top and also the carrots are covered in glitter. Holly sprig is painted with H2O's.

The right side page is a Christmas card to my friend. Here is a picture of the Christmas pudding on the December page. I am particularly proud of the pudding as I painted it myself, the rum sauce is liquid effects with glitter on it.

I apologize for the length of this post. Santa will be especially good to those who read through to the end.
“Now it’s your turn! Visit each of the design team blogs listed below. Then create a NEW project of your choice featuring Crafty Secrets product and link it up to the blog
(http://heartwarmingvintage.blogspot.com/)h. You do not need to follow this month’s theme to play along. If you do not have any Crafty Secrets goodies, check the FREE DOWNLOADS located in the sidebar of the Crafty Secrets blog. Be sure to link to the Crafty Secrets Blog in your post, and let us know what Crafty Secrets product you are using in your project. One lucky player will be randomly selected to win a $50 shopping spree in our online store. Each player who participates will receive a $6 credit to the online store. We’ll be popping by to leave you some lovely comments on your blog post, too. Thanks for playing along, and good luck!”
Crafty Secrets Design Team
Kathy Clement, DT Leader http://www.kathybydesign.com
Darlene Pavlick, Dar’s Crafty Creations http://darscraftycreations.blogspot.com/
Diane Hover, Nellie’s Nest http://www.nelliesnest.blogspot.com
Gloria Stengel, Scraps of Life http://gloriascraps.blogspot.com/
Melody Clement, Paper Melody’s http://papermelodys.wordpress.com/
Michele Kovack, Thoughts of a Cardmaking Scrapbooker http://chelemom.blogspot.com/
Shantaie Fowler, Inking Pink http://www.inkingpink.com/
Sheila Rumney, Sheila Rumney Design and Photography, http://www.sheilarumney.com/
Special Guests
Birgit Norton http://www.craftingwhileIwait.blogspot.com/
Thanks so much for visiting me at Paper Pass Times
Merry Christmas,
Elizabeth